
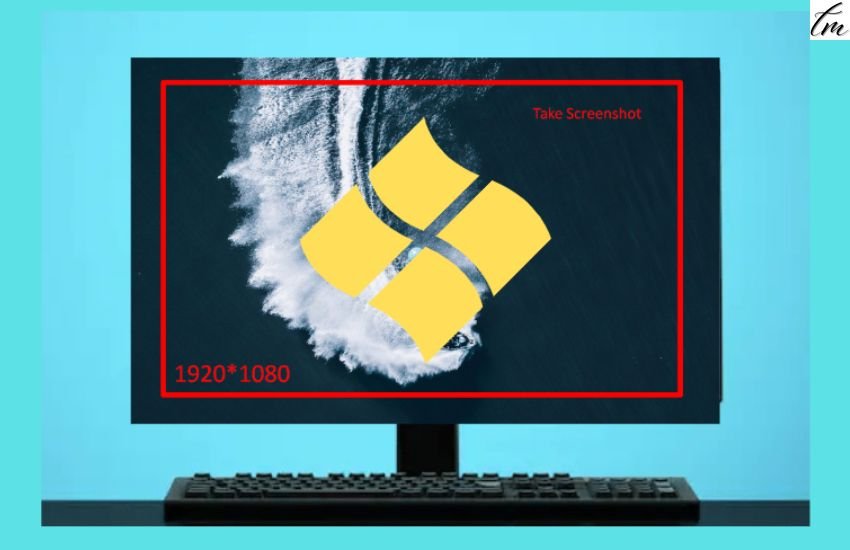
The snipping tool is actually used to take screenshots on your computer screen. You can just take screenshot of any part and can paste anywhere. It can be used with Windows 7, Windows Vista, Windows 8.1, or Windows 10. Snipping tool on Windows PC helps in taking screenshot of full screen, rectangular form, free form snip and any Windows you want to take a screenshot. As keyboard has its own screen shot button on it. But that button takes a screenshot of the entire screen but snipping tools help you to take a click on your desired part and save or paste it anywhere for future use.
How to Use Snipping Tool on Windows?
Snipping tool comes with the windows itself. To open it, either click the Shortcut Key or type snipping tool in the Search Bar. If you want to open it in a really quick time, just pin it in your taskbar.
When you search for the snipping tool, a bar popped up on the windows screen. Where an option of new will be set by default. Click on that and you’ll be able to take a screenshot. There are four modes that you need to select before. Screenshot will start processing once you selected the desired mode.
Four modes are :
- Free form snip
- Rectangular snip
- Windows snip
- Full-screen snip
Free form snip : It will draw any shape around the object you want to screenshot.
Rectangular snip : This allows you to draw a rectangular shape around the object
Windows snip : It will take a screenshot of your selected windows.
Full-screen snip : You will be able to take a screenshot of your entire screen with this feature.
Also Read: How to Record Screen on Windows 10?
You can also take a screenshot of the entire screen only by using a print key on the keyboard.
After taking a screen shot, you can use a pen to draw anything on n your screenshot or you can change the color to red, green, blue, etc. You can highlight any specific part to grab attention. Or you can select the thickness of your screen shot on your own. To utilize a screen capture tool on your Windows PC you need to follow the below steps.
First, open the windows you want to save for later or you want to send a part of it through email. Drag your cursor around the object or select the mode/form. And then you need to click on the left side of the mouse.
Screenshots can be saved as an image format such as PNG, JPEG file, and GIF. On the top of the screenshot before saving so many options are given. You can erase anything you have highlighted but was not needed. It can also allow you to copy the snip to your windows screen. Or anywhere you want to move it.
Snipping tool in windows PC is totally free as it is already present in the windows.
You can take screenshots of a smaller portion by using a rectangular snip. As it is very helpful in the website when selecting a small portion of content. It is also helpful in saving images from such websites that do not allow the safe saving of images.
How to create Shortcut keys?
Just to open the program quickly you can use the shortcut keys. Again go to the search bar type snipping tool and instead of opening the file, click on the left button, then select the open file location. Search the snipping tool on the list and select the properties by right-clicking on it. Look for the shortcut key bar. It is empty for now but you can add the shortcut keys here according to your choice. Then click on the apply button down there and then click on the ok button to complete the whole process. You can also use this tutorial of creating shortcuts to any other program you want to make shortcuts. It is simple and easy to create. Also very helpful in the quick task.
Also Read: Auto Clickers for PC.
Conclusion
Snipping tools on windows PC is very helpful in saving either a small part or to save a whole screen. You need to create and assign a shortcut key for that. In Windows 10 you can easily open it by clicking on the windows key + shift key + S . Snipping tool has different modes to select but the rectangular snip is preferable because it allows taking screenshots of a smaller portion. Or you can take screenshots of any data on the website that a website is not allowing to save directly.
Frequently Asked Questions
Question 1: Which windows have an inbuilt snipping tool?
Answer: Snipping tools were built in windows 7 and then windows 8.1 and 10. But it can also work on windows vista.
Question 2: How you can take a screenshot of a PC?
Answer: You can take screenshots by snipping tool on the windows PC but with that, you can also take screenshots with the print key on the keyboard.
Question 3: Does the snipping tool itself save a screenshot?
Answer: No it doesn’t save a screenshot itself, you need to complete the action and save the screenshot after doing changes in it. Just rename the file and save it in your preferred location on your PC.
Question 4: Is there any difference in the snipping tool and snip and sketch programs?
Answer: New technology always comes with advanced features, snip and sketch replaced the snipping tool in some windows. The snipping tool doesn’t allow notifications whereas snip and sketch have a notification option. You can not take screenshot of windows on snip and sketch but the snipping tool allows you to take screenshot of your windows. Snip and sketch give you some better measurement options whereas snipping tool has not.
Question 5: In which windows snipping tool was introduced first?
Answer: Windows vista has its first introduction to the snipping tool, later it becomes a part of Windows 7, Windows 8.1, and Windows 10.


Pingback: How to Take Screenshot on PC - Follow Easy Steps