

Do you know how to enable screen recording in Windows 10? No problem! Let’s see, how do it on Windows? Screen recording is a great feature that is used to create content. People screen record the content to save it to watch in the future. Moreover, it is used to record everything a person is doing on a PC. Recording Screens while playing games is such a great help to track the games progress and challenges that we are facing while playing our favorite games such as Minecraft, Roblox.
To record a screen on windows 10 you do not need a specific app or software. You can try the application that is already available with the windows 10 OS itself. That is a good option especially when you are in hurry to record content.
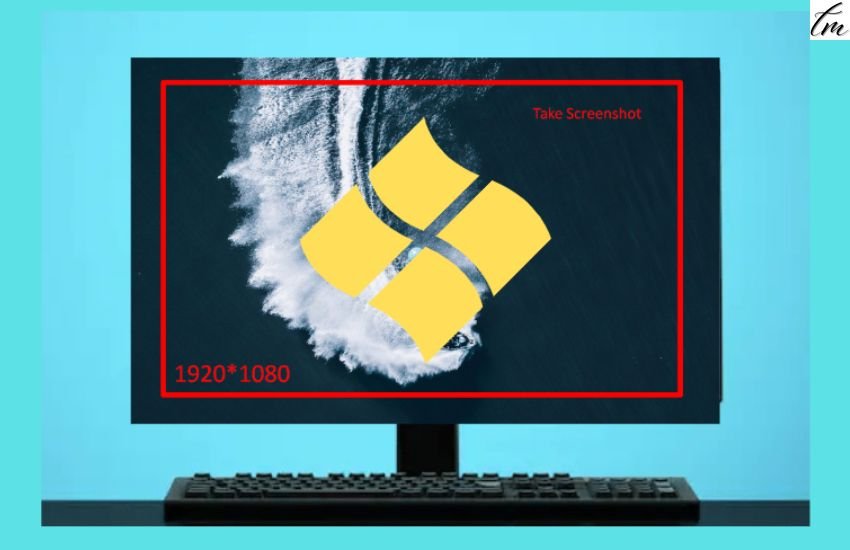
How to Enable Screen Recording Tool in Windows 10?
Screen recording in windows 10 is a quite easy task. First, start to open something you want to record. No Body wants to record a boring desktop. So let’s take the example of recording a game. To enable screen recording is easy just open any game. As it is already present in windows 10 so go for the search bar. On the search bar, simply type ‘The game bar’. After typing this a pop-up will appear showing the name XBOX GAME BAR.
It is a totally free app. You can also launch this app by pressing the windows key and the G key on the keyboard. As the G is for the game. It is a shortcut for the Xbox game bar to appear on the screen but the easiest way is to simply type on the search bar.
So, How it Works?
When the user presses the shortcut key, many pop-ups appear on the Windows PC screen. And you can see the pop-up displaying a name as ‘Broadcast and Capture’.
Under this display. Some options are appearing in which the first one is ‘screenshot’ that will help in taking screenshots. Another option is that you can simply record the last 30 sec of a game. The best part is every option will appear with its shortcut key. The third option is screen recording. And the shortcut key to enable a screen recording in windows 10 is window key + Alt + R.
Either you can press a button under the broadcast and caption display or you can directly press the shortcut key to start.
After enabling the screen recording on windows 10. A small pop will appear usually on the right side corner of your computer screen. You can click on that to stop the recording from there anytime. You can also give access to your microphone if you need to record your audio in the video. Now go to the game and start playing. Your video will be recorded after that. And to stop the recording, you need to click on the record button to stop the video.
How to Watch the Recorded Clip?
Once you are done with the recording, type the shortcut key for the XBOX GAME BAR and the same pop-up will appear again on the screen. Click on ‘ show all captures ’ and all the recorded clips will have appeared there. Also if you will click on the open and file explore button. Your recorded clips will also appear there. From there you can take the MPV file and go to YouTube or Facebook to upload the content anytime.
This is how simple to enable a screen recording on windows 10.
Game Bar Setting
Simply go to the game bar and open the setting. There is an option of shortcut. Tap on the shortcut button and the list of Shortcuts used in the game will appear over there. Just like R for recording and if you want to change the shortcut there are many more keys available there and very easy to use actually. If you want to take a screenshot or you want to save or start and stop the recording, every shortcut key is available.
Another amazing option of the game bar is Personalization. This option allows you to customize the light or dark mode in recordings.
Under the option of Capturing, the game bar allows you to select what you want to record. You want to record a game with audio, or you want to record everything or you don’t need audio at all. You can even set the Notifications while recording or even while playing just to avoid any hindrance. There are a lot of options to explore in the game bar.
The Game bar pops up on the screen and shows you the audio results and the performance of your computer and the screen recording that is how is your device handling both at the same time.
Screen Recording Options
With the XBOX game bar in windows 10, you can not only record any game screen but you can also record any browsing windows or any app windows. It is very convenient and safe to use also it is free to use screen recording in windows 10.
Some of the flaws of recording through the game bar is that it only gives you to record one screen at a time. You cannot open another file to record. It won’t work with it.
OBS Studio(64-bit)
OBS Studio 64-bit is a very powerful screen recorder but it is a little complicated. Instead of a game bar, this has more settings to deal with. It is also a free recorder but with some complications.
Conclusion
Screen recording in windows 10 is easy to enable as it does not require any software. Because Windows 10 OS has its own software already installed in it. Through XBOX GAME BAR you can easily screen record any content in Windows 10. It is easy to operate and gives you a lot of customization options. After recording the clip you can use some other editing apps to make it look professional.
Frequently Asked Questions
Question 1: Can I record audio while recording in windows 10?
Answer: Windows 10 gives you a lot of options to record audio with the video with the app already installed in windows 10. Named as ‘ Xbox Game bar ’
Question 2: Is there any other tool to screen recording in windows 10?
Answer: Instead of the Game bar, you can go for power points presentation option to record your screen.
Question 3: How long a screen recorder can work in windows?
Answer: A screen recorder can operate for more than 3 hours without any disturbance.


Pingback: How to Use Snipping Tool on Windows PC?
Pingback: How to increase FPS on PC?
Pingback: How to Take Screenshot on PC? - Follow Easy Steps